Silhouette SD Cutting Machine Fun
Though I am an enthusiatic paper-crafter, I hesitated to jump on the cutting machines bandwagon. They’re a little spendy – buying a machine and then all the cartridges. I just couldn’t justify it. Some of my friends have them and I was teeny bit jealous of the cool things they have made… So when the makers of the Silhouette SD asked if I would like to review one, I was so excited to see what it could do. I actually looked at this machine a few weeks before. After reading a blog post recently, I realized that the cutting machine world has improved – no pesky cartridges to buy and store! Even better, you can easily change the size and make other adjustments on your computer, then cut it out exactly.
But let me back up and show you the first thing I made:


Instant teacher gift card holder! This took me about ten minutes to make. The pillow box and tag designs came pre-loaded in the software library. I used a font I already had to write the words. Here’s how it looks in the software –
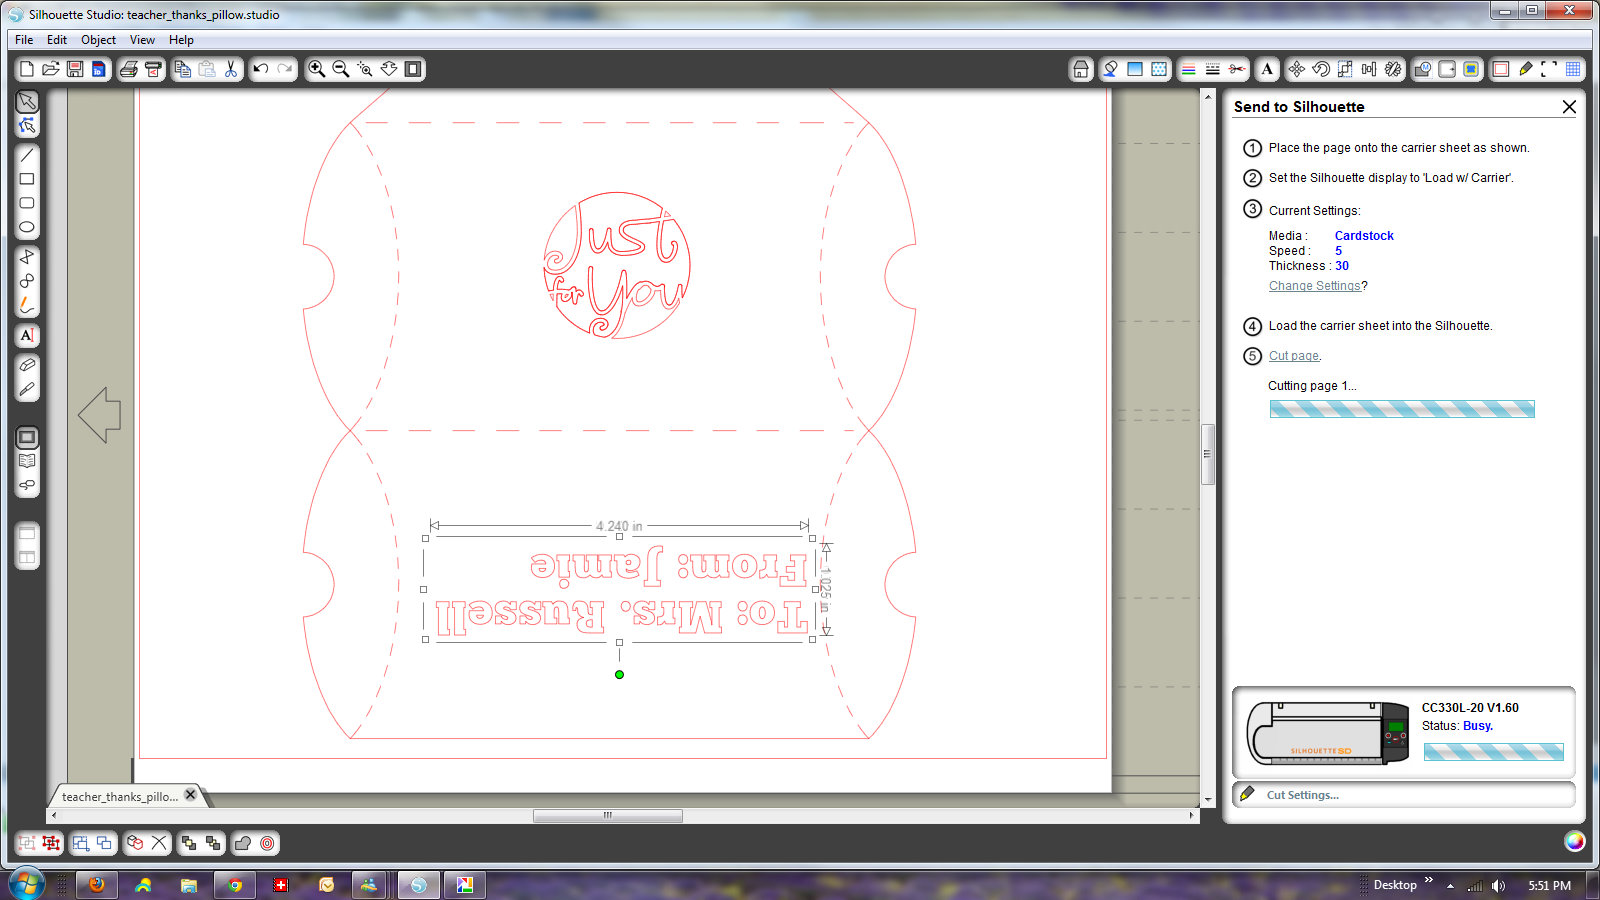
Lately, I’ve been extra-busy so it was great how easy that was to make. Gift wrap and card all in one.
Then Father’s Day snuck up on me…
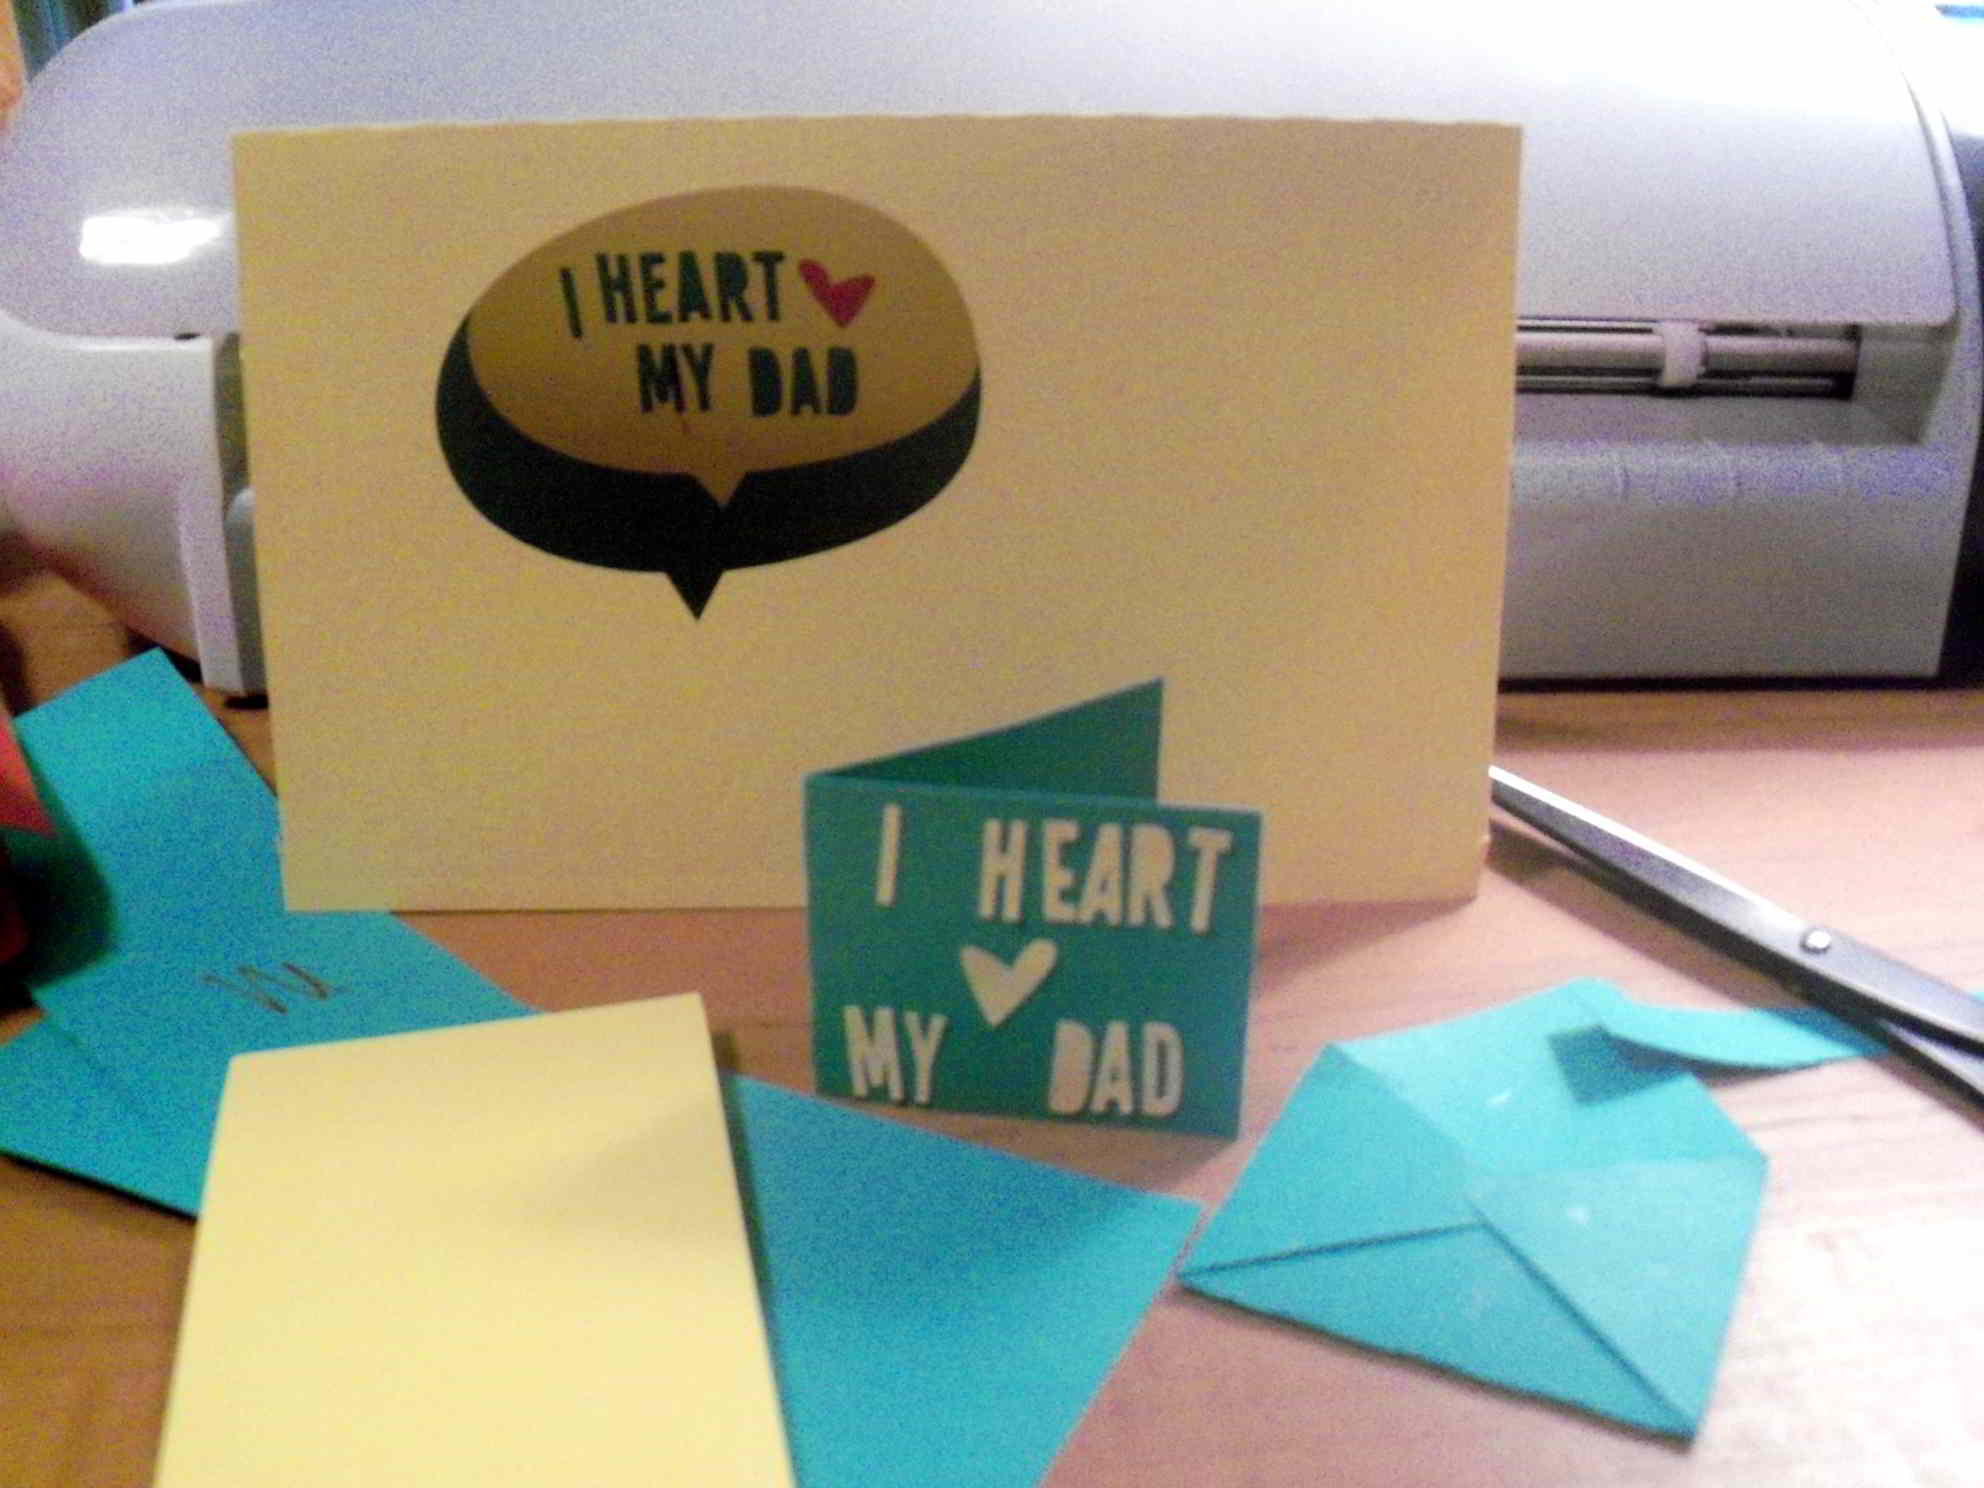
Okay, I made these cards on Father’s Day morning and got a two-fer out of one cut. Dozens of designs come pre-loaded in the library. More designs are available in the online store that you open from within the software (or online). Each design is 99 cents and sale designs are 50 cents. Every week there’s a freebie, which I used for these cards.
The Silhouette SD machine is in the background. It is about 16 inches long and 7 inches wide. When you are cutting, it needs room in front and back to move the paper back-and-forth.
Here’s how the bigger card looked in the software –
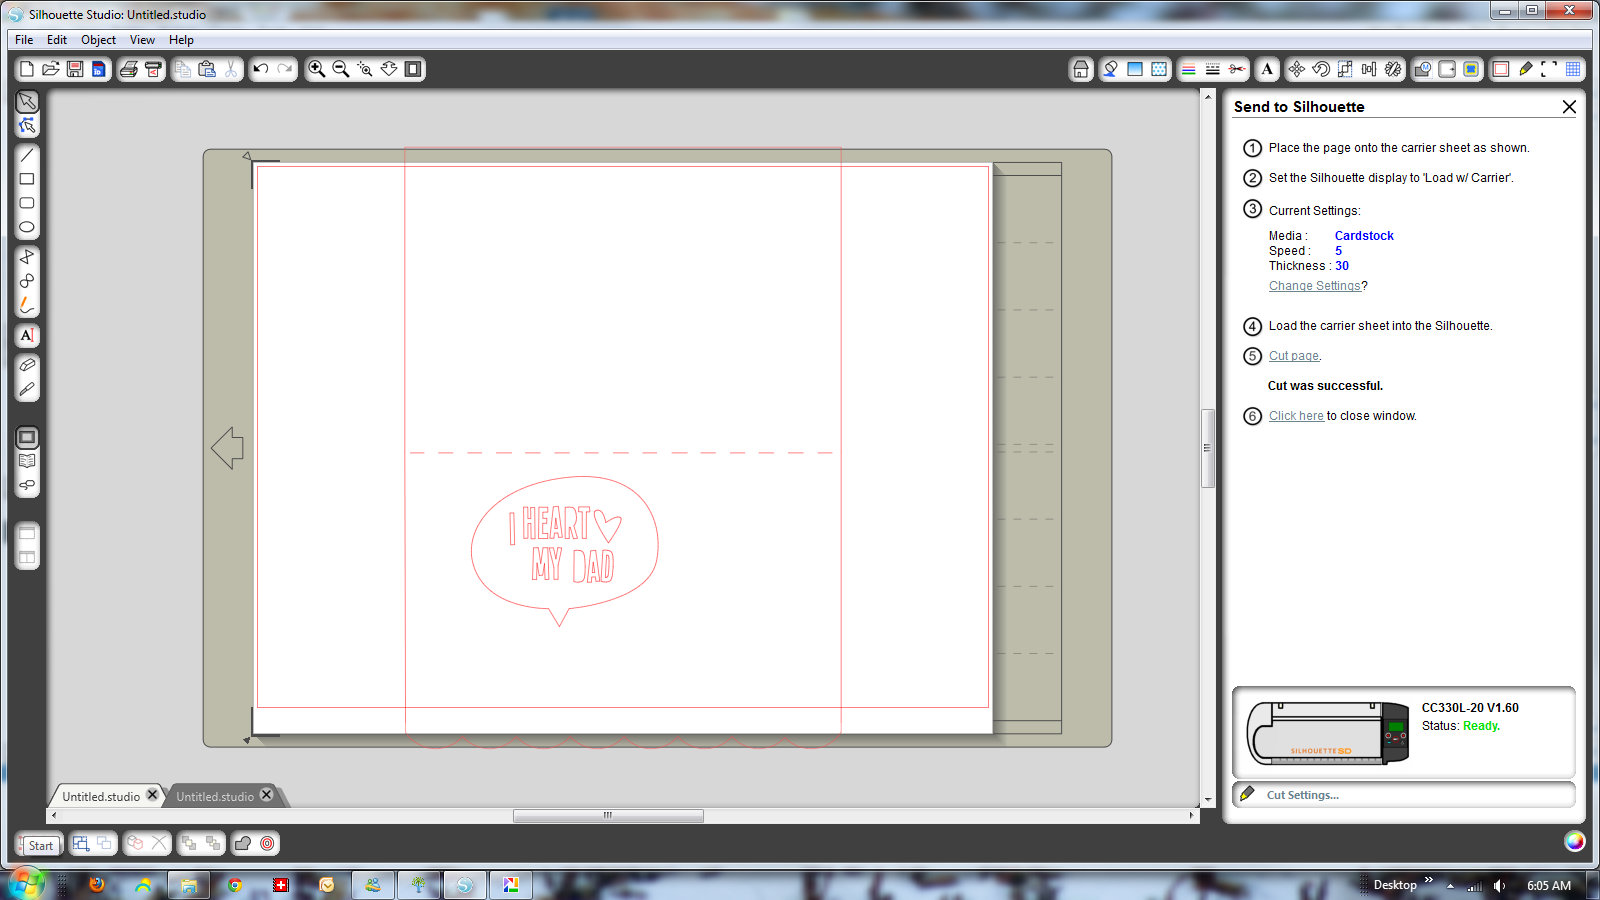
The card was cut out and the fold perforated by the cutter. Being in a bit of a hurry, I found inspiration… using the cut-out letters from card 1 on card 2. This darling little card is in the software library –
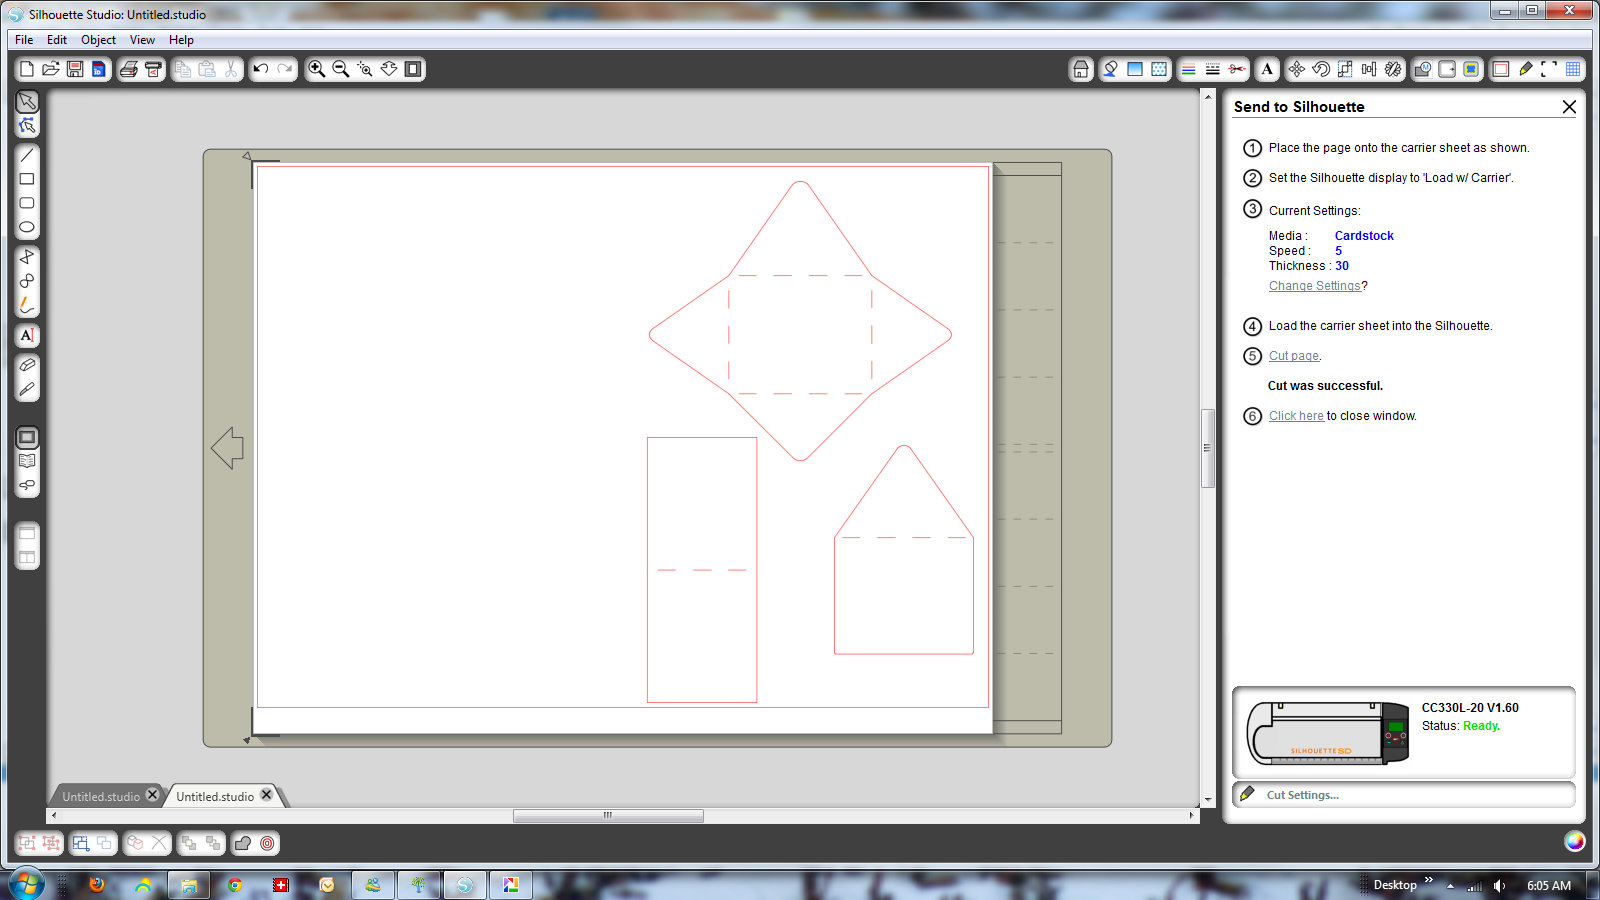
Took me a bit to realize that the house-shaped piece is an envelope liner. It seems easy enough to separate the pieces, make them bigger and print them on different papers.
I can’t wait to play more with this machine. I’ve only scratched the surface of what it can do – it cuts vinyl for wall decals, heat transfer vinyl, fabric interfacing and more.
There are some blogs and a user group that have sprung up around the Silhouette. I’ve had lots of fun browsing around, seeing other Silhouette projects. I watched some YouTube videos that people have made. And that’s how I found the next thing I must try – the Print and Cut feature. It makes amazing die-cuts of any image you have on your computer. Here’s the basics:
- Open an image in the Silhouette software
- Trace it using the trace tools
- Print in on your printer
- Load the printed page into the Silhouette
- Cut the printed images!
I’m excited to try it. I might start by buying a Print and Cut design from the store. If I buy one, I won’t need to setup the tracing myself. The online store has some pretty journaling tags. I think I can type on the tag in the software and then print and cut it out. Watch for a blog post about my projects with that soon. The Silhouette is one of those tools that is pretty simple to start but can be used in many ways if you take the time to learn it. It’s definitely earned a place on my desk!
POST UPDATE: Silhouette is offering a deal on the Silhouette machine. Here’s the official word –
“Your readers will be able to get
1 Silhouette SD
2 Packages Temporary Tattoo Paper
for $199 (U.S. only) (120 dollars in savings!)
Also, 25% off all other products in the Silhouette shop (excluding gift cards and download codes)! The promo will run June 21-29. The promo code is ALLCRAFTS.”